1947 Delta Unisaw Restoration Project

Since its introduction in 1939, the Delta Unisaw has been the standard in cabinet-style tablesaws. Even today, Delta still produces the Unisaw, in substantially the same form as it built them in 1939. While certain accessories have changed and certain details have evolved, the size, shape, operation, and basic "guts" of the saw are very similar to that first 1939 saw.
Although there are a number of other quality cabinet saws on the market today- some of them more expensive, or perhaps more "deluxe" than the Unisaw, most woodworkers dream about owning/aspire to own/think it would be really cool to own a Uni. I was fortunate enough to have been able to purchase a brand new 3hp right-tilt Unisaw for myself back in 2005- still fairly early in my woodowrking career. Even then, I had long dreamed about owning a Unisaw. I suppose that you might compare it to a Rolex, or a Corvette, or some other iconic brand that people aspire to, although those analogies are not quite right- those products are high-end luxury items. While Unisaws certainly aren't cheap, I think most woodworkers like them because they set a certain standard, and not because they are the most expensive saws out there (which they are not).
Anyway, since I bought my new Uni in 2005, I have become aware of a number of folks who have refurbished older Unisaws. The reasons for refurbishing are as varied as the person doing the refurbishing. Some people think that older Unisaws- built with a lot more cast iron and such- are more solid than the Unisaws built today. Others want a table saw that is totally American made (today's Unisaws have a lot of foreign-sourced parts, although they are still supposedly "assembled" here). Still others just appreciate the history behind an old tool, or enjoy fixing up old things. When I saw the 1940's-era Unisaw that my friend Dave Richardson ("Just_George" of the Southeast Michigan Woodworkers and Woodnet) had restored, I told myself that if an opprtunity to fix an old one up came along, I would take it.
Fast
forward two years or so to my new home in Virginia, and a posting on
the DC Craigslist for a "1930's-1940's Delta Unisaw and Jointer". He
was asking $1500. Since I already had a mighty nice jointer and didn't
fell like restoring one fo those, I inquired as to the price of just
the Uni. He said $900. I politely told him that he was insane. He
politely ignored me. After a couple of weeks went by, and his Mrs. got
on his case about freeing up space in the garage and getting some spare
cash, he was a bit more receptive to my next offer. To make a long
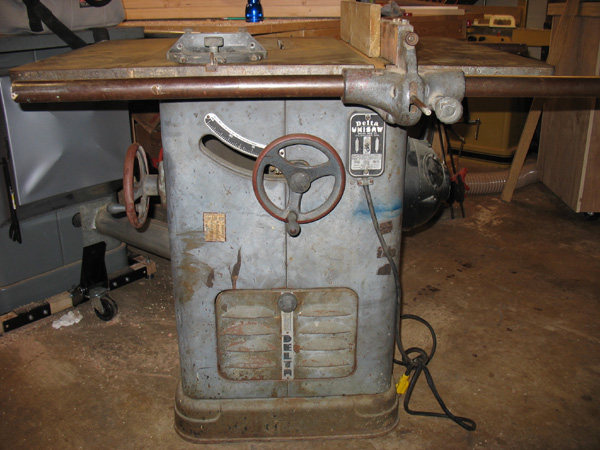
story short, $400 bought me this beautiful 1947 Unisaw, with the
original repulsion-induction motor still in operating condition:

Now, you're probably thinking, "Wait a minute- I thought that you said
'beautiful' Unisaw?" Well, having seen a couple of nice restorations, I
knew what was hiding underneath those years of abuse, neglect, and
rust. They key is getting everything disassembled, stripped down,
cleaned up, repainted, repaired/replaced as necessary, and reassembled.
With the help of a number of useful internet sources (including the
aforementioned Dave Richardson and a whole group of great, great people
on Woodnet and Woodworking.com)
and some good old-fashioned trial and error, I was able to get the job
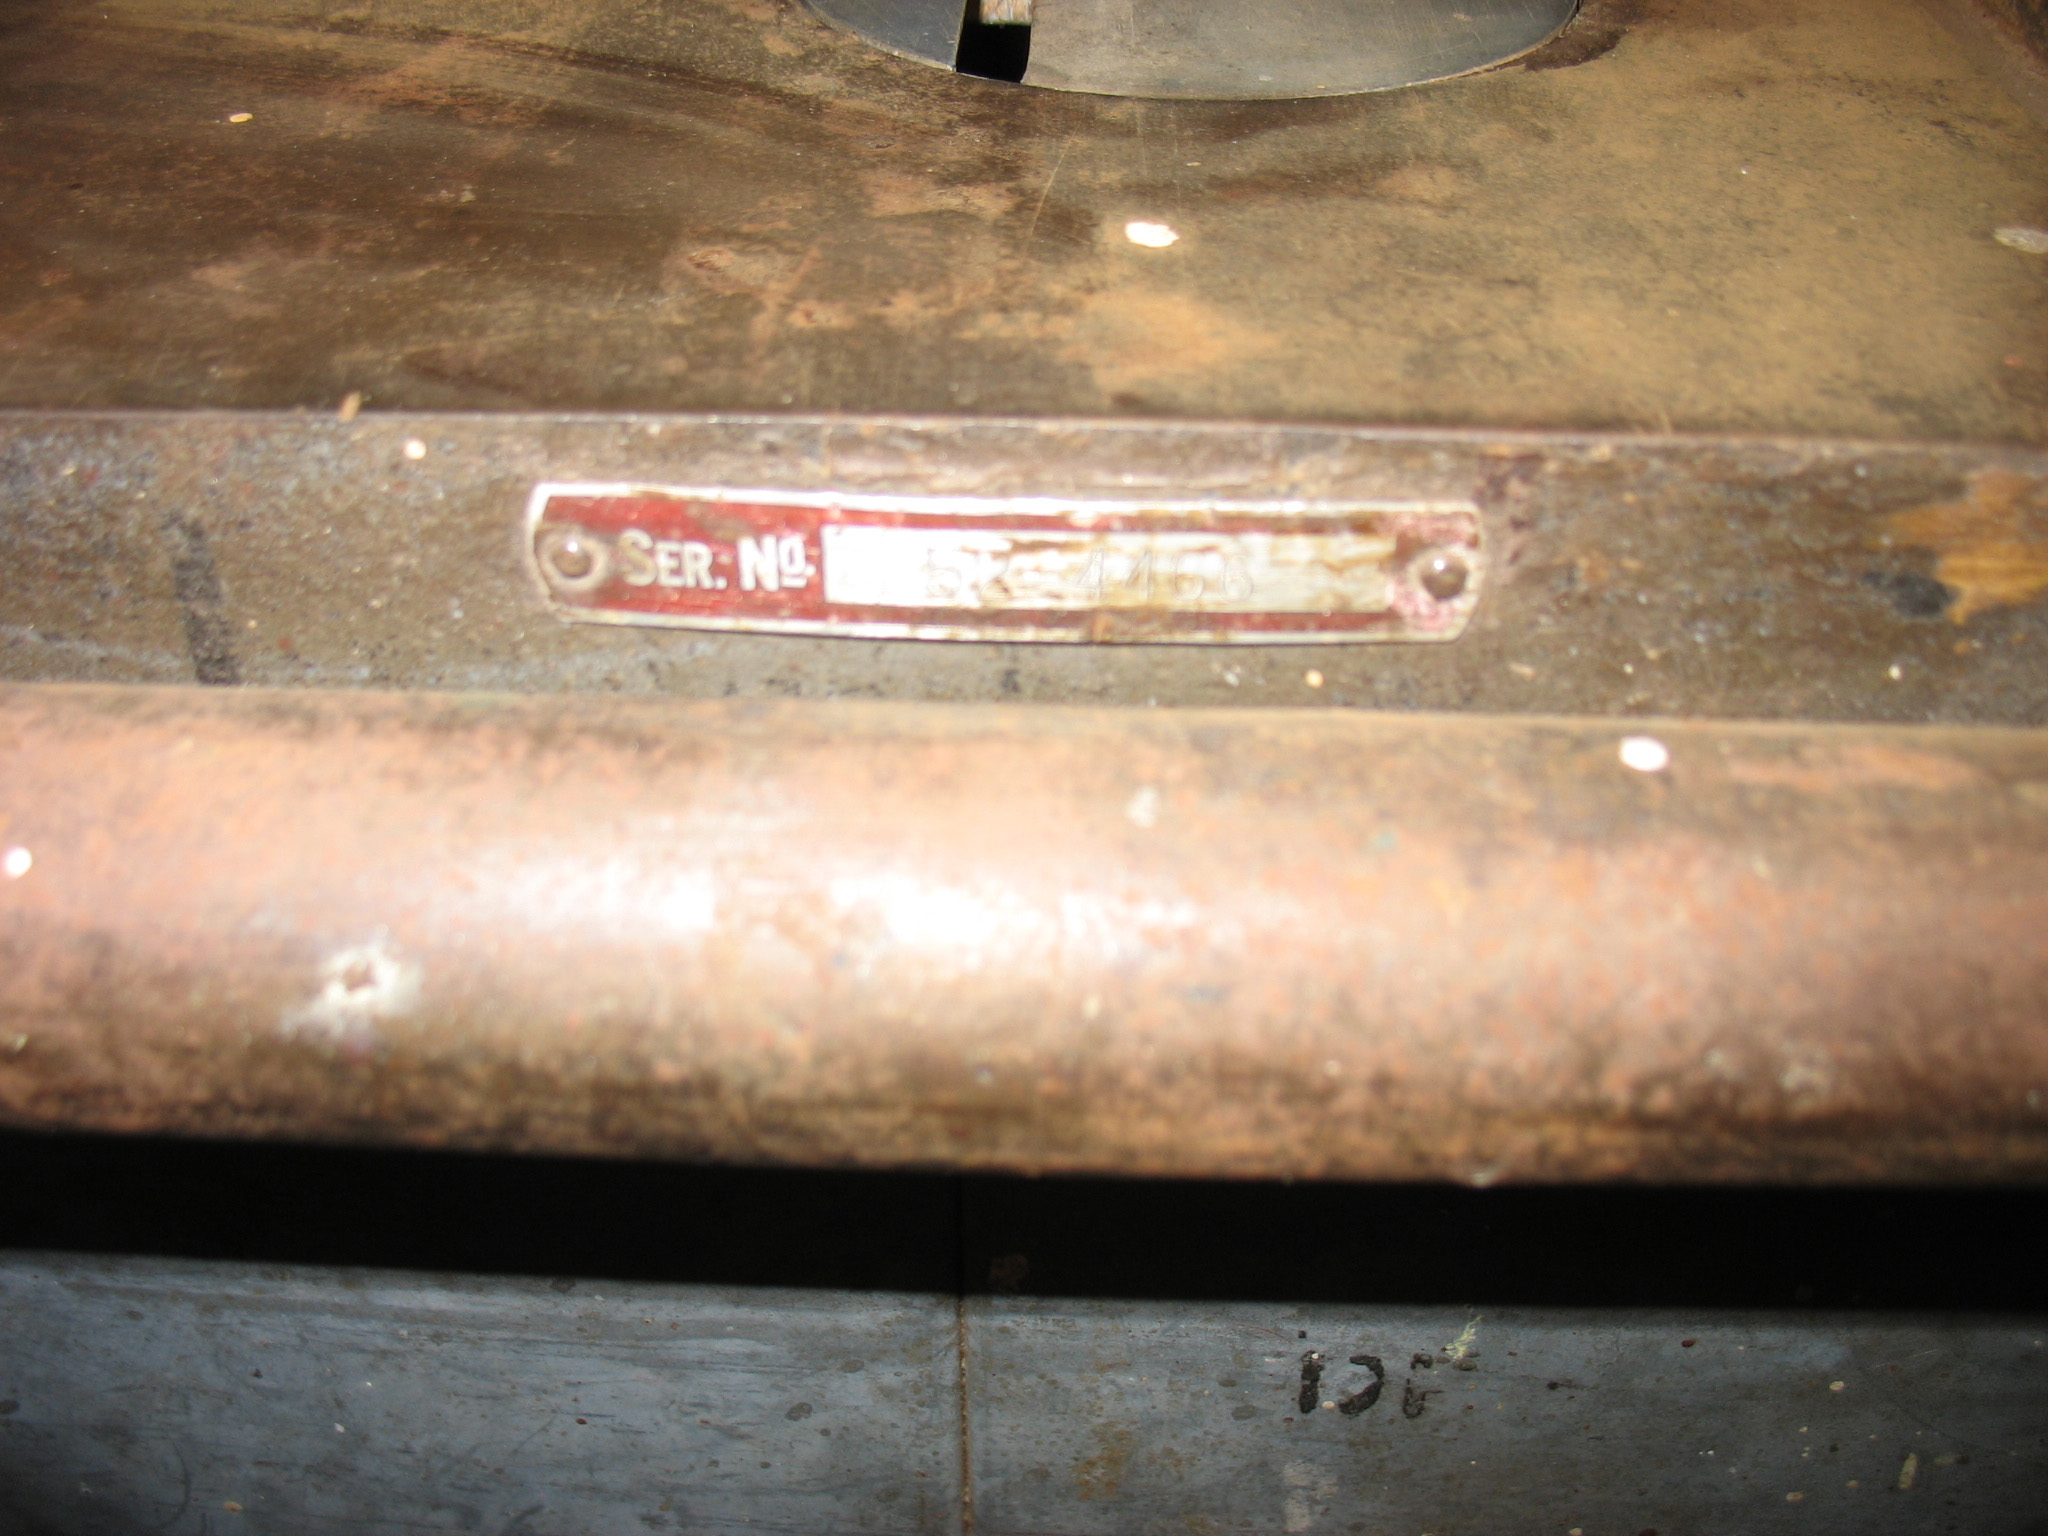
done. Incidentally, although you can't see the serial number in the
last picture, that number (52-4466) was how I was able to date the saw
to 1947, thanks to the Delta Vintage Project at Old Woodworking Machines.com.
The following pictures represent more
or less of a chronological overview of the process I went through
(although to be honest, some of the pictures were taken simply as a
reminder for myself on how things went together, so that if I screwed
up later, I would have some sort of reference as to how things were supposed
to look).
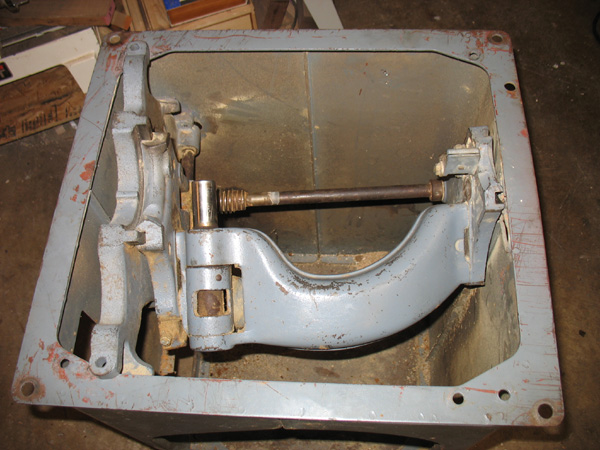
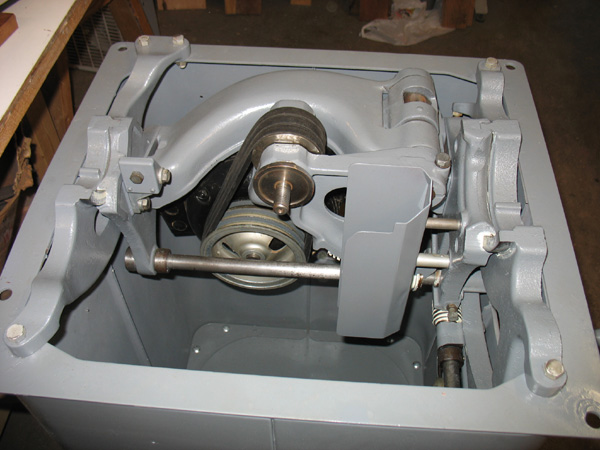
The view from above with the table removed- front bracket, trunnions, and yoke (I had already removed the rear bracket). It was a real joy trying to get this assembly out of the cabinet.
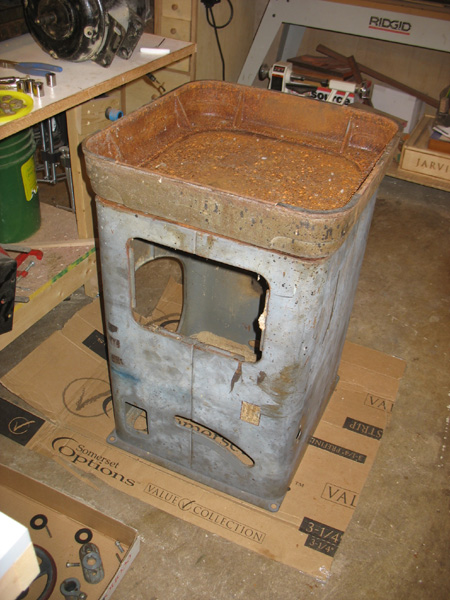
The cabinet with all the guts removed, turned upside-down. The rust on the underside of the cabinet was pretty bad. . .
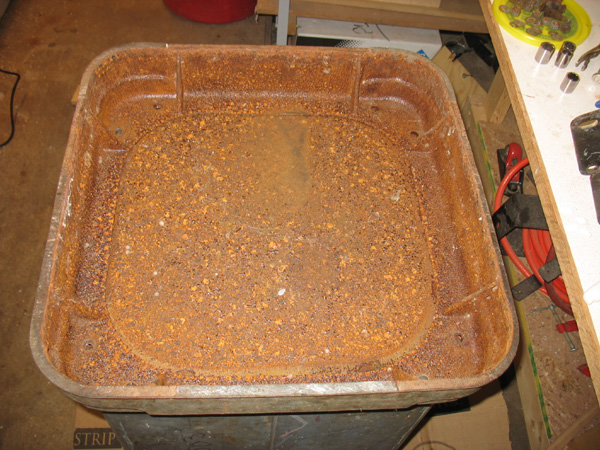
. . . as is even more evident in this picture. In among the rust was this odd stuff that kind of reminded me of amber. Shiny bits of a resinous substance.
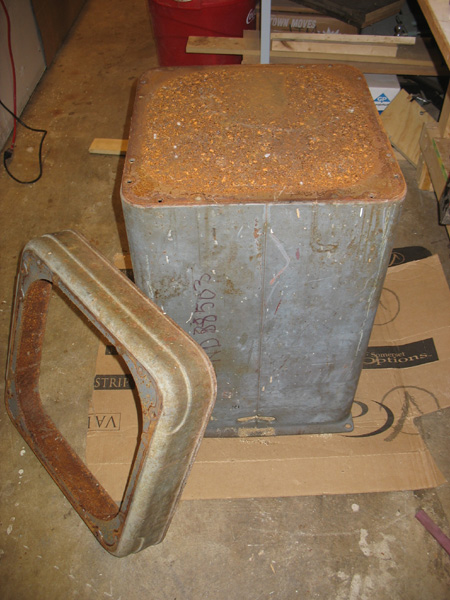
A moment later, with the cast iron plinth (i.e. base) removed..
Here's that same rusty partition, after a few minutes with an angle grinder equipped with a knotted-cup brush. The next task would be spraying it down with some Rustoleum Rusty Metal Primer.
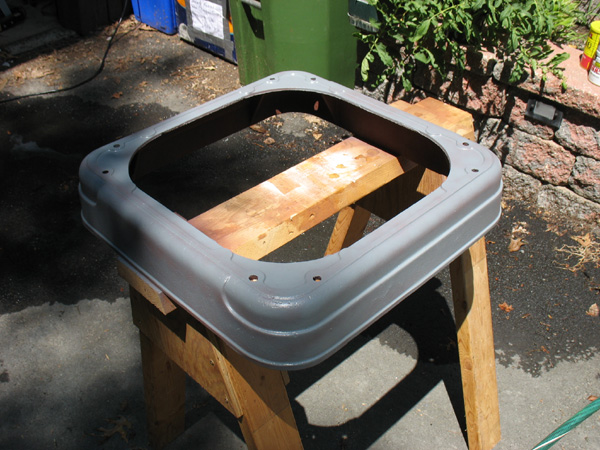
Here's the plinth after also getting the knotted-cup brush treatment, some additional elbow grease, some primer, and the first coat of Rustoleum Dark Machinery Gray (which, by all accounts, most closely resembles the original Delta paint color on this vintage of Unisaw).
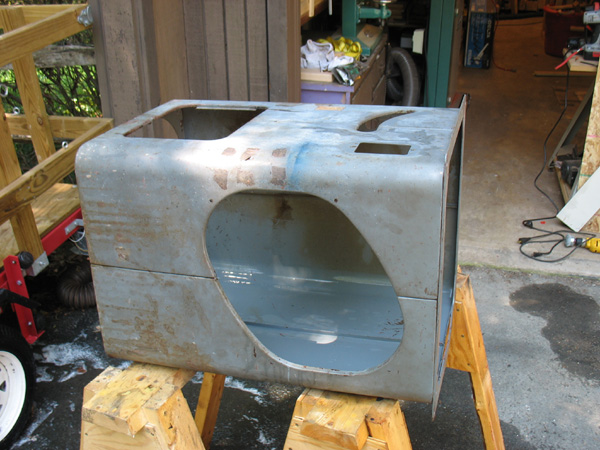
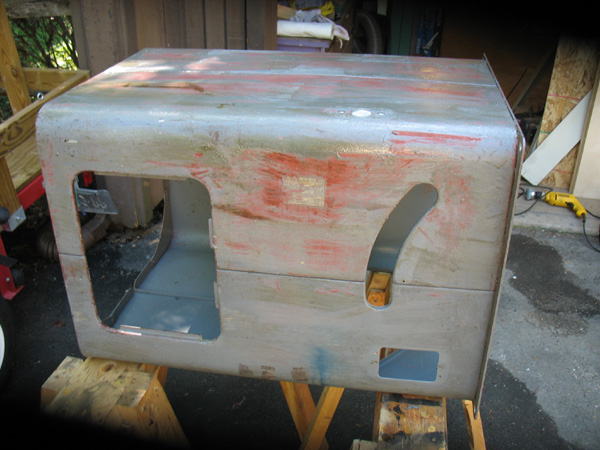
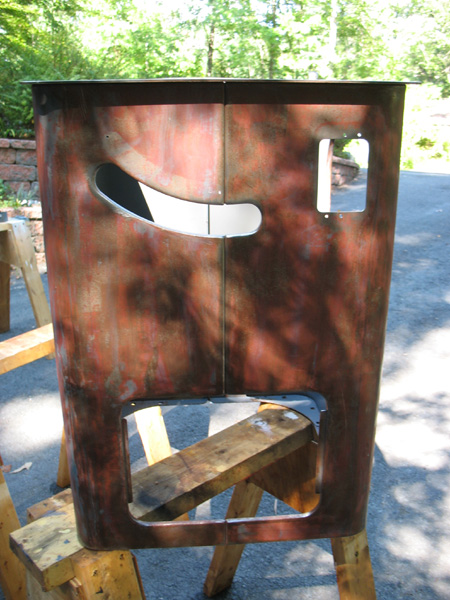
The cabinet during the stripping process. Unfortunately, the stripper I used was not nearly as effective as I had hoped. The wire brush attachment for my drill ended up doing a lot more more for me than the chemical stripper did.
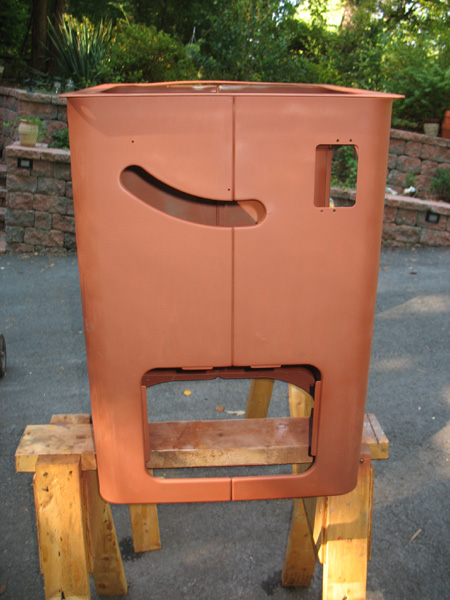

The cabinet, with a coat of primer.
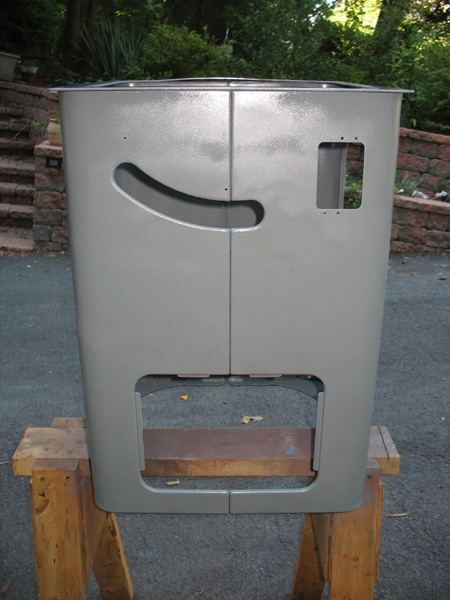

The cabinet, with a coat of paint.
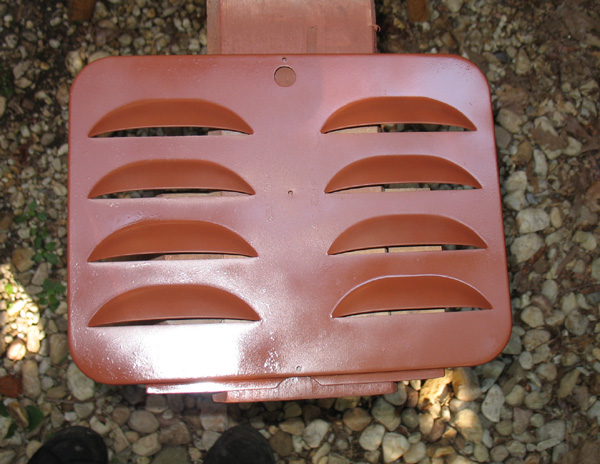
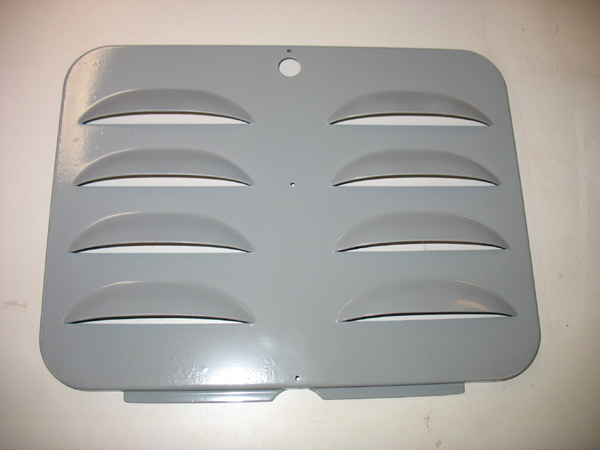
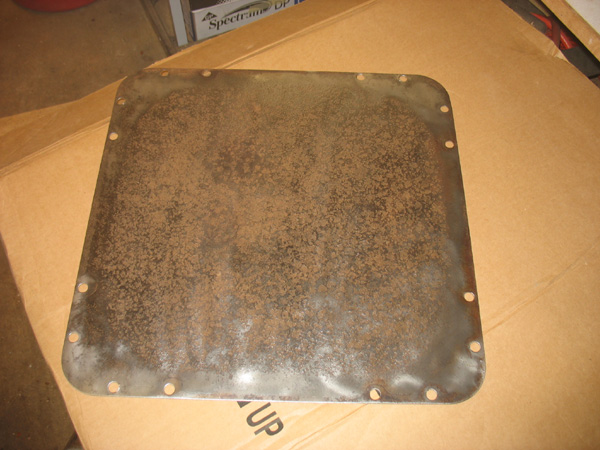
The dust door, with a coat of primer, and a coat of paint.
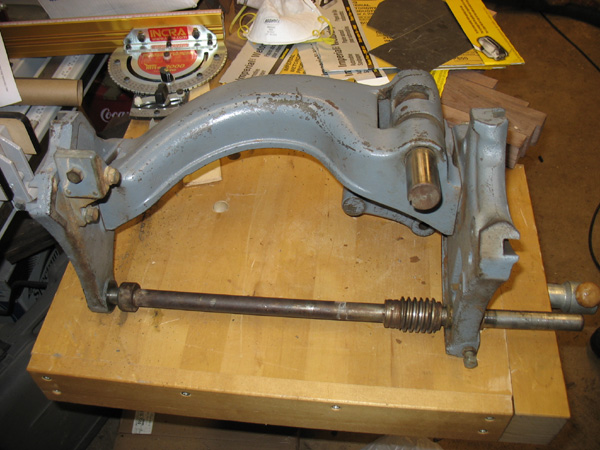
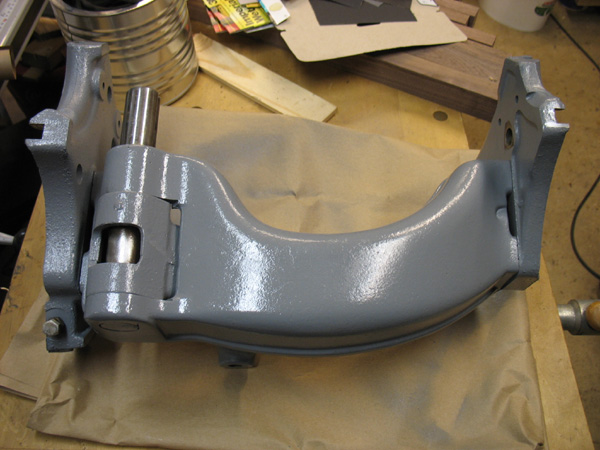
Before and after shots of the yoke and trunnion assembly.
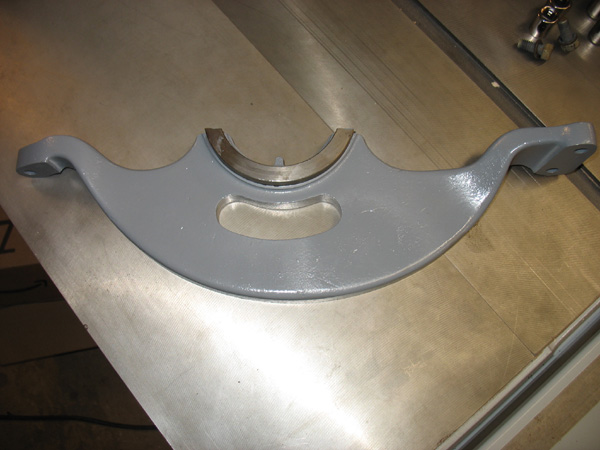
"After" shots of the rear trunnion bracket . . .

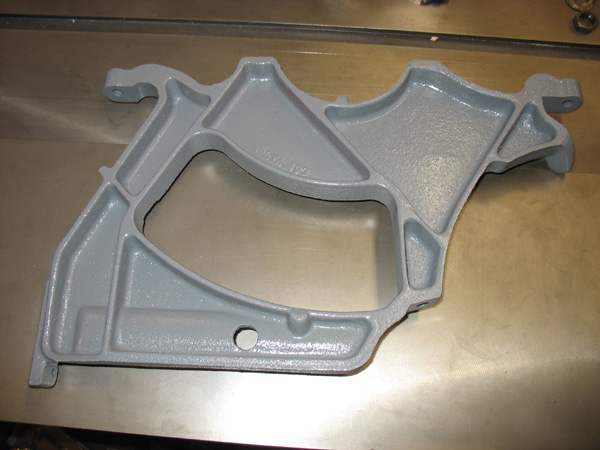
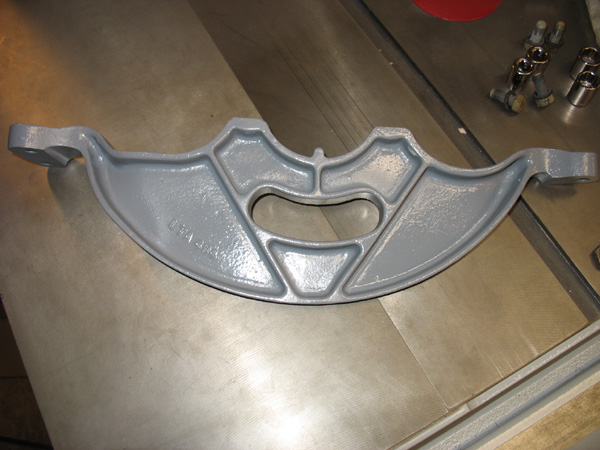
. . . and front trunnion bracket.
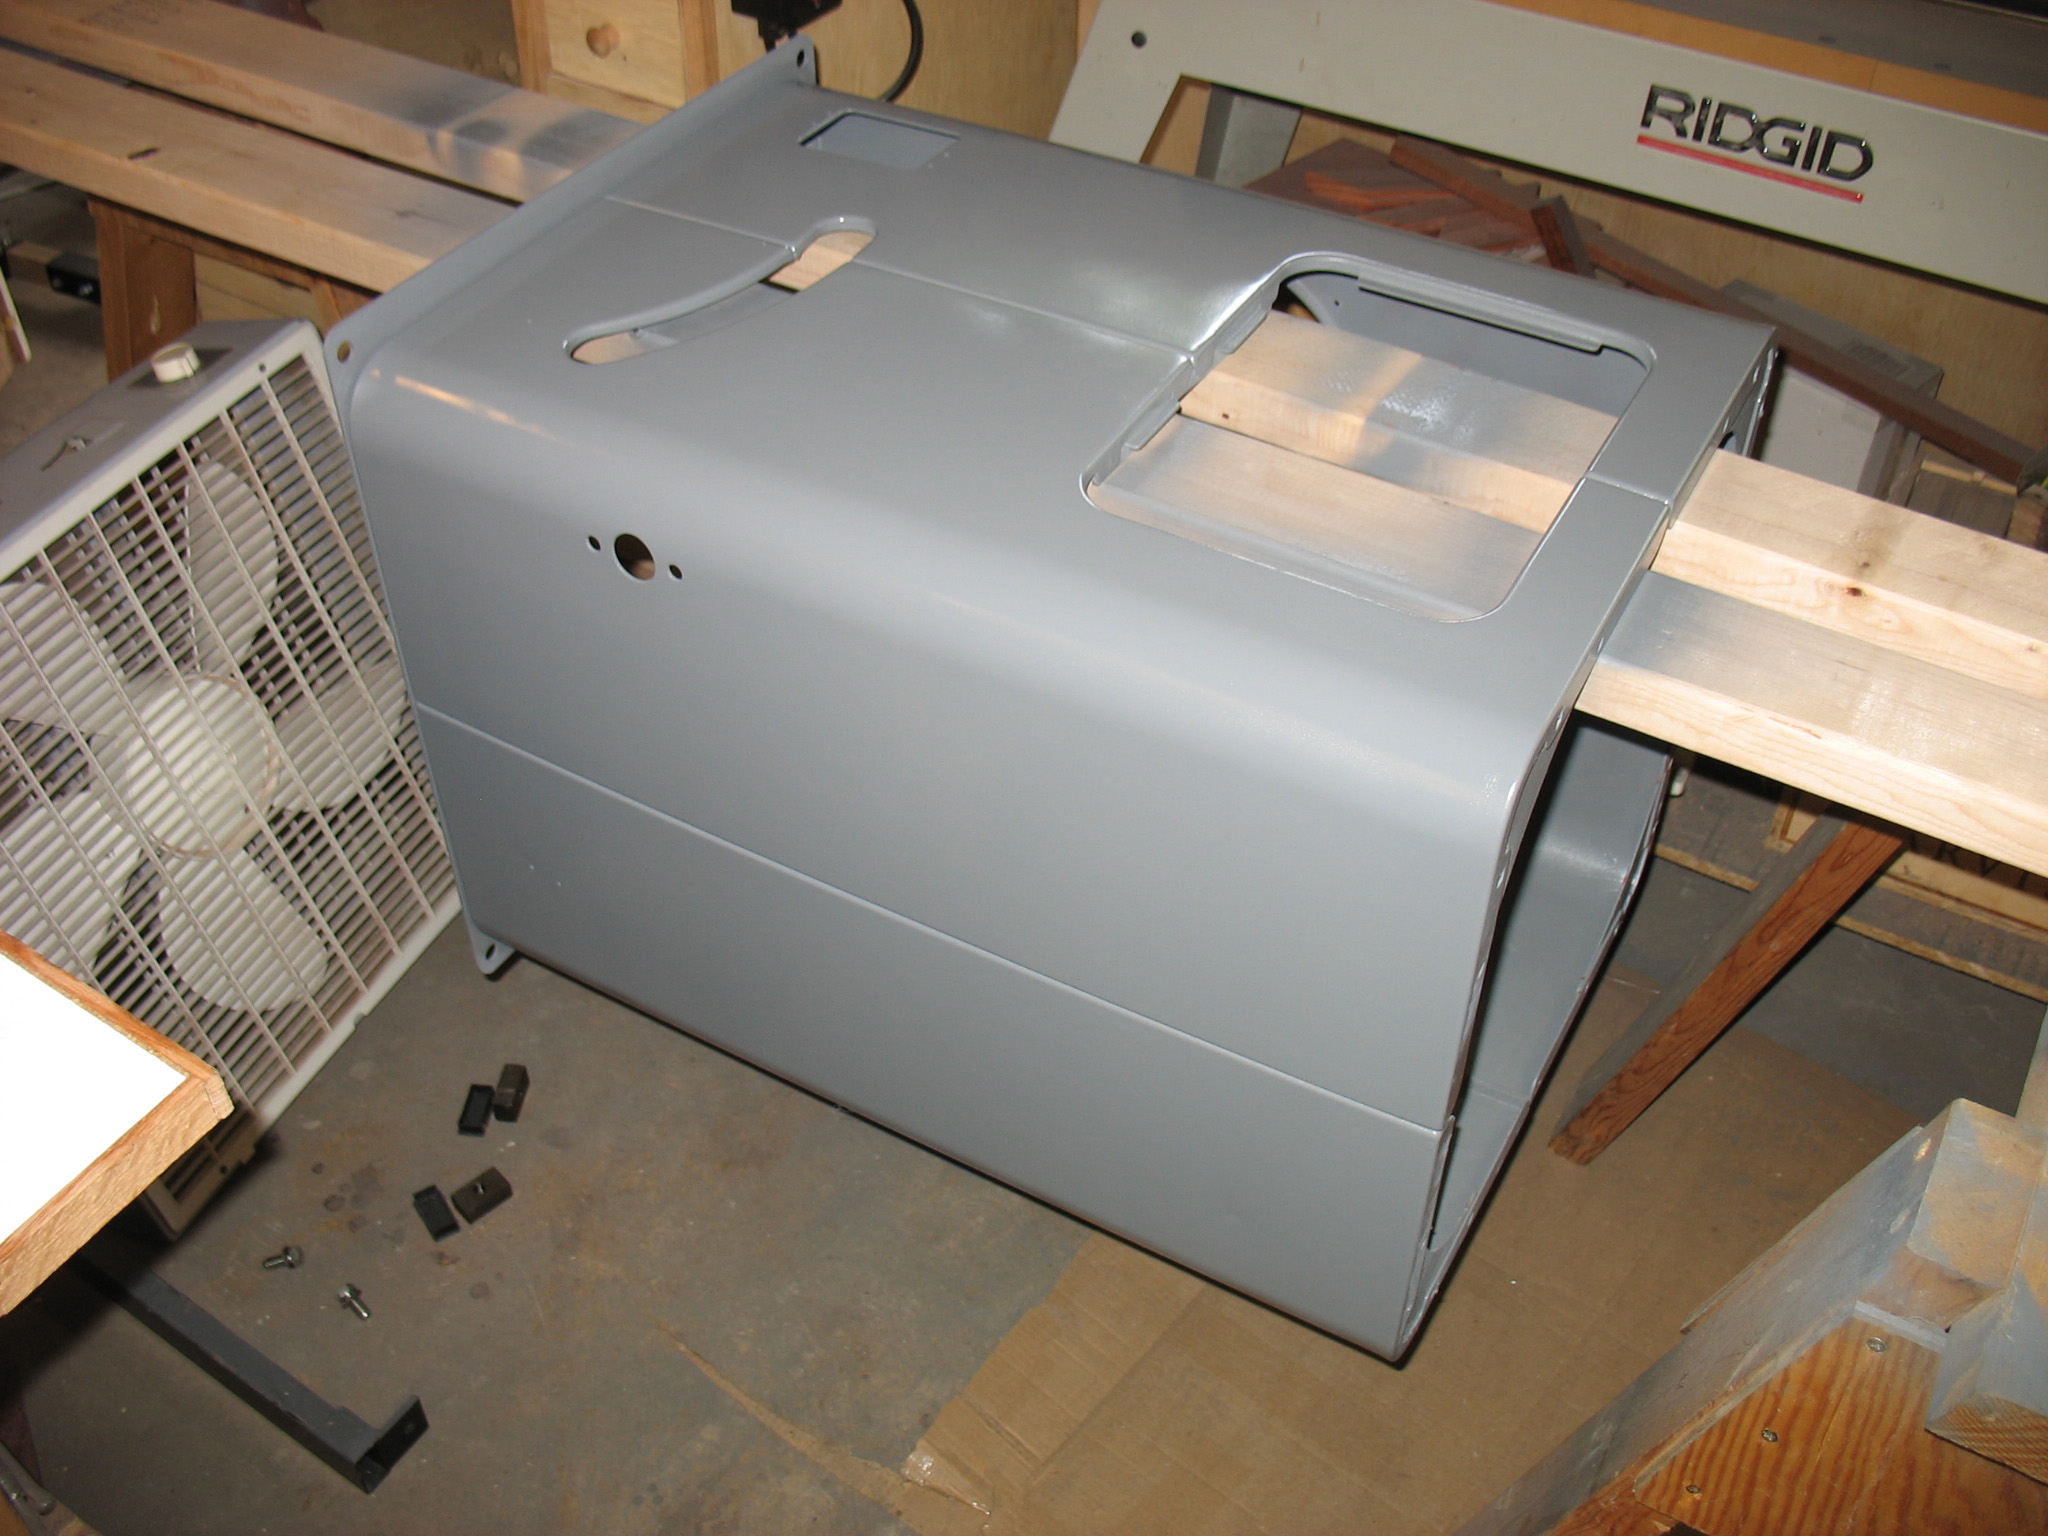
The cabinet, after its final coat of paint.
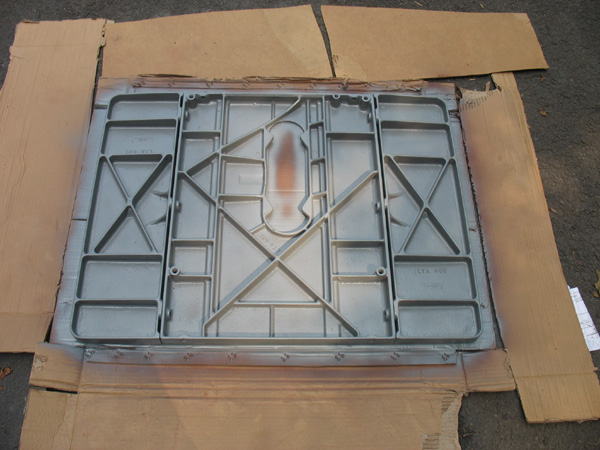
The underside of the table, after a good scrubbing, priming, and painting.
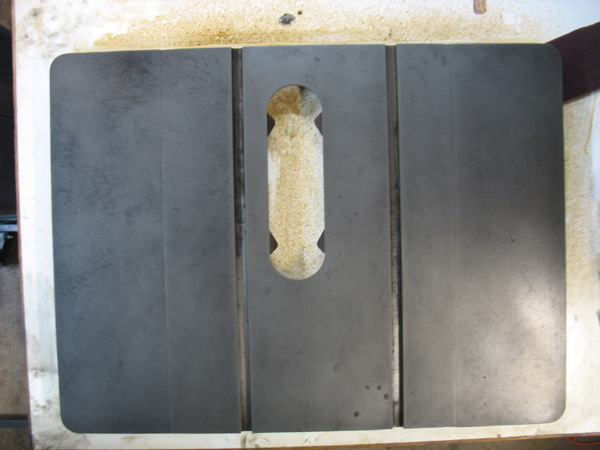
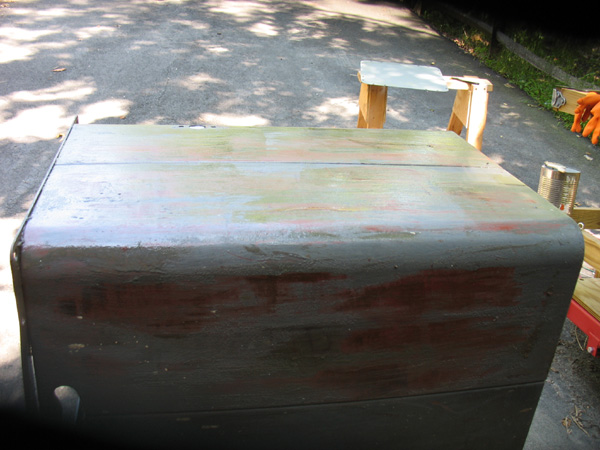
The top, after 3 good scrubbings with various cleaners. I used a wire brush mounted in my drill, a Scotch Brite pad with Simple Green, then a solid scrubbing with the SCotch Brite pad and Barkeeper's Friend (an abrasive powder). After this shot was taken, I managed to get those spots out of the lower center with a razor blade.
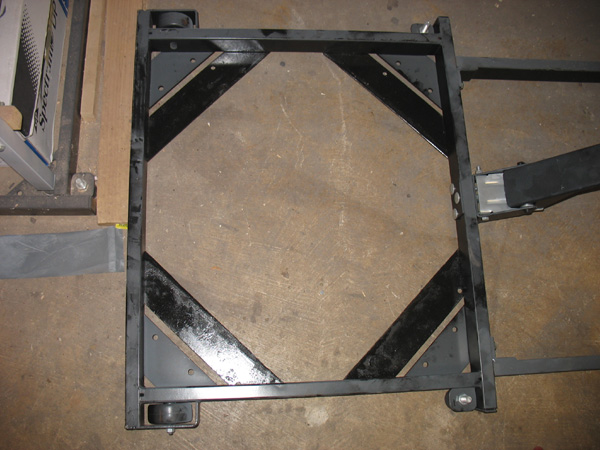
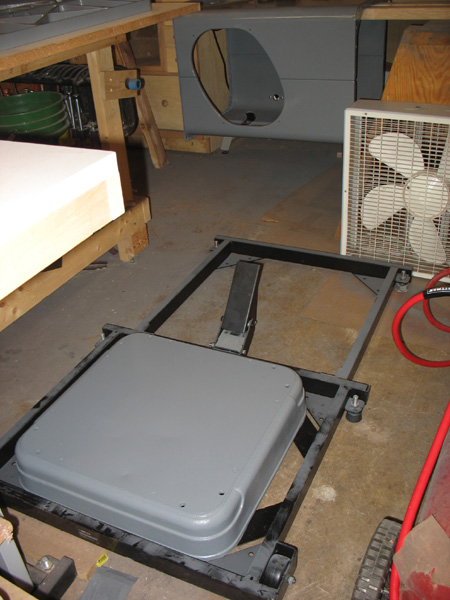
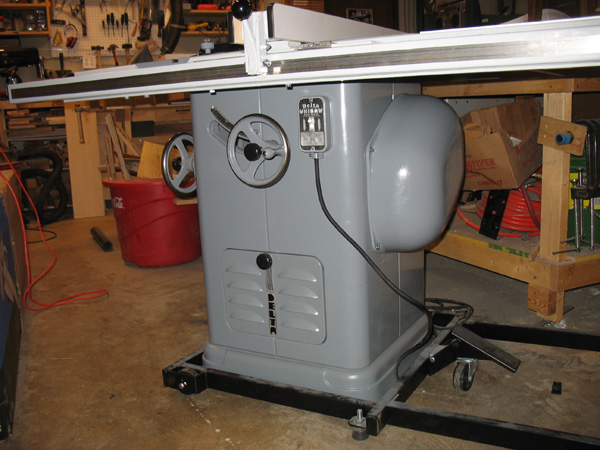
A custom-welded mobile base. I found that modern Unisaw mobile bases are too small for the old Unisaws, with their cast-iron plinths. However, the next-size-larger mobile base was a little TOO big, as the saw base was only supported by about an eighth of an inch at each corner. The solution- weld a few more supports onto one of the bigger base.
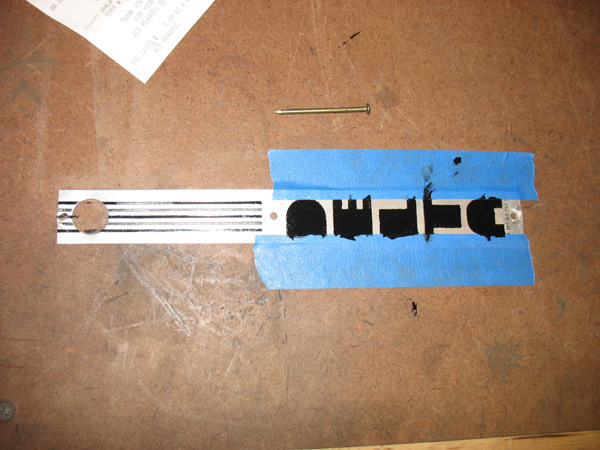
Touching up the paint on the nameplate.
Base and cabinet- awaiting a reunion.
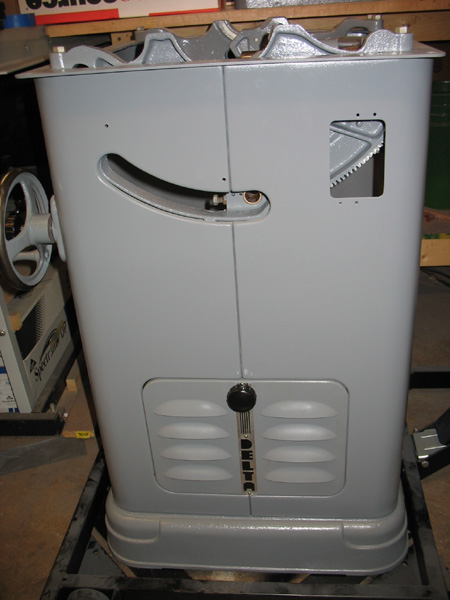
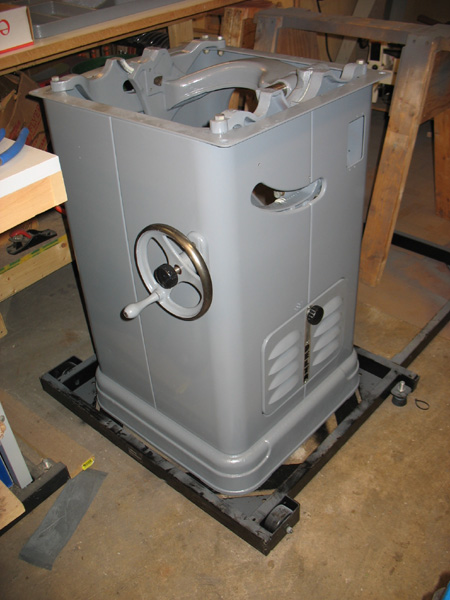
The cabinet, with the angle adjustment rod, handwheel, dust door, and nameplate resintalled.
The same.
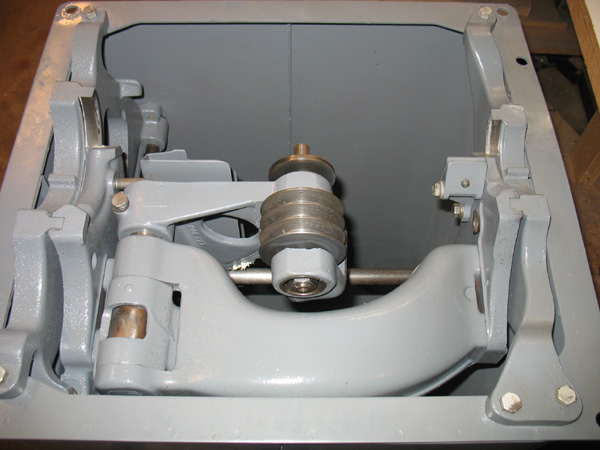
The interior, post-restoration .
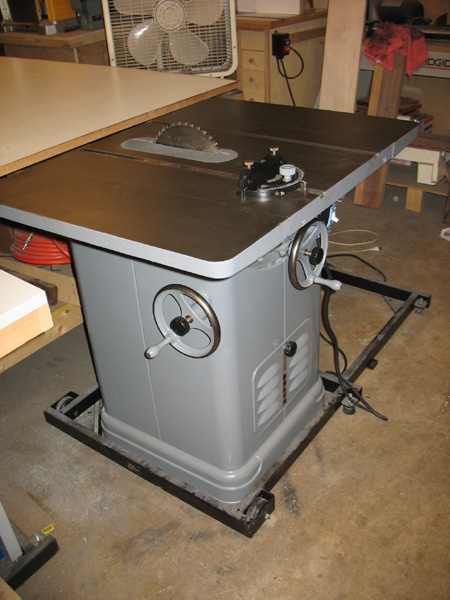
The saw reassembled, before adding the fence system.
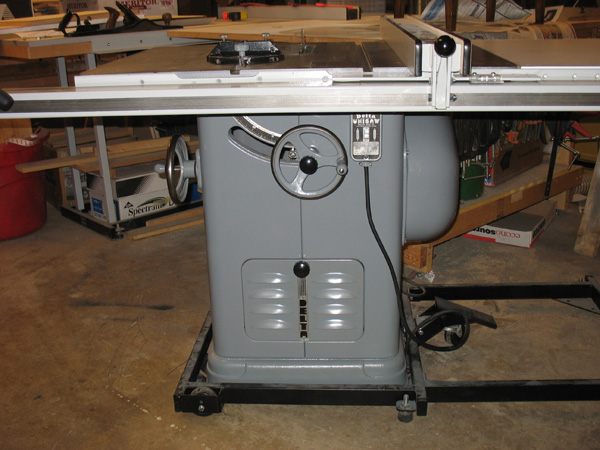

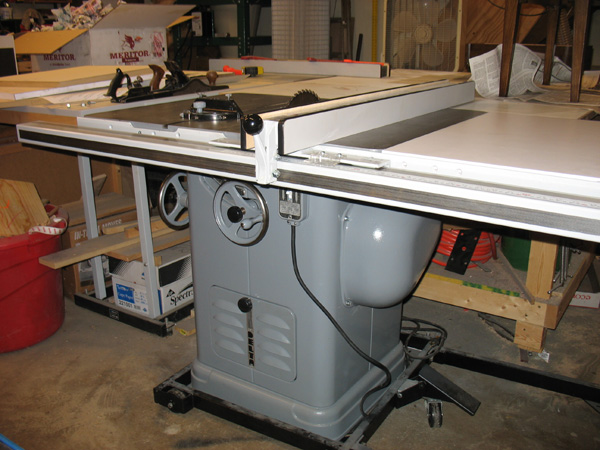
The finished product.